You look around and on the horizon is a sea of endless toys. Your well-meaning relatives have spoiled your children and now you can’t even walk without stepping on a Lego or barbie shoe. Or maybe it is you that wants to ensure your kiddos have all the new fun stuff that you never got. You thought the kids would spend hours playing with all their new things, but in reality they just follow you around and tell you how bored they are. You want to just throw everything away but know that is not the answer either. Check out my step-by-step guide to a toy rotation made simple to see if this is something that might work for your family!
1. Take a Purchase Pause
The first step to a good toy rotation is to get control over what you already have. Continuing to bring things in is going to bring more stress and ensure you have absolutely no idea what you actually have to work with. Take time during this process to pause your toy purchasing and allow space to inventory what you already have. You can also take some time during this step to come up with a kind, gentle way to encourage family members to take a toy purchase pause also.
2. Observe
Your first active step in this process is to observe your children. Take a couple days to find out what they really enjoy playing with, and what they don’t touch. You could even take some things and put it in a closet to see if it is missed. This will give you an idea of what kind of toys your kids actually enjoy.
3. Take Inventory
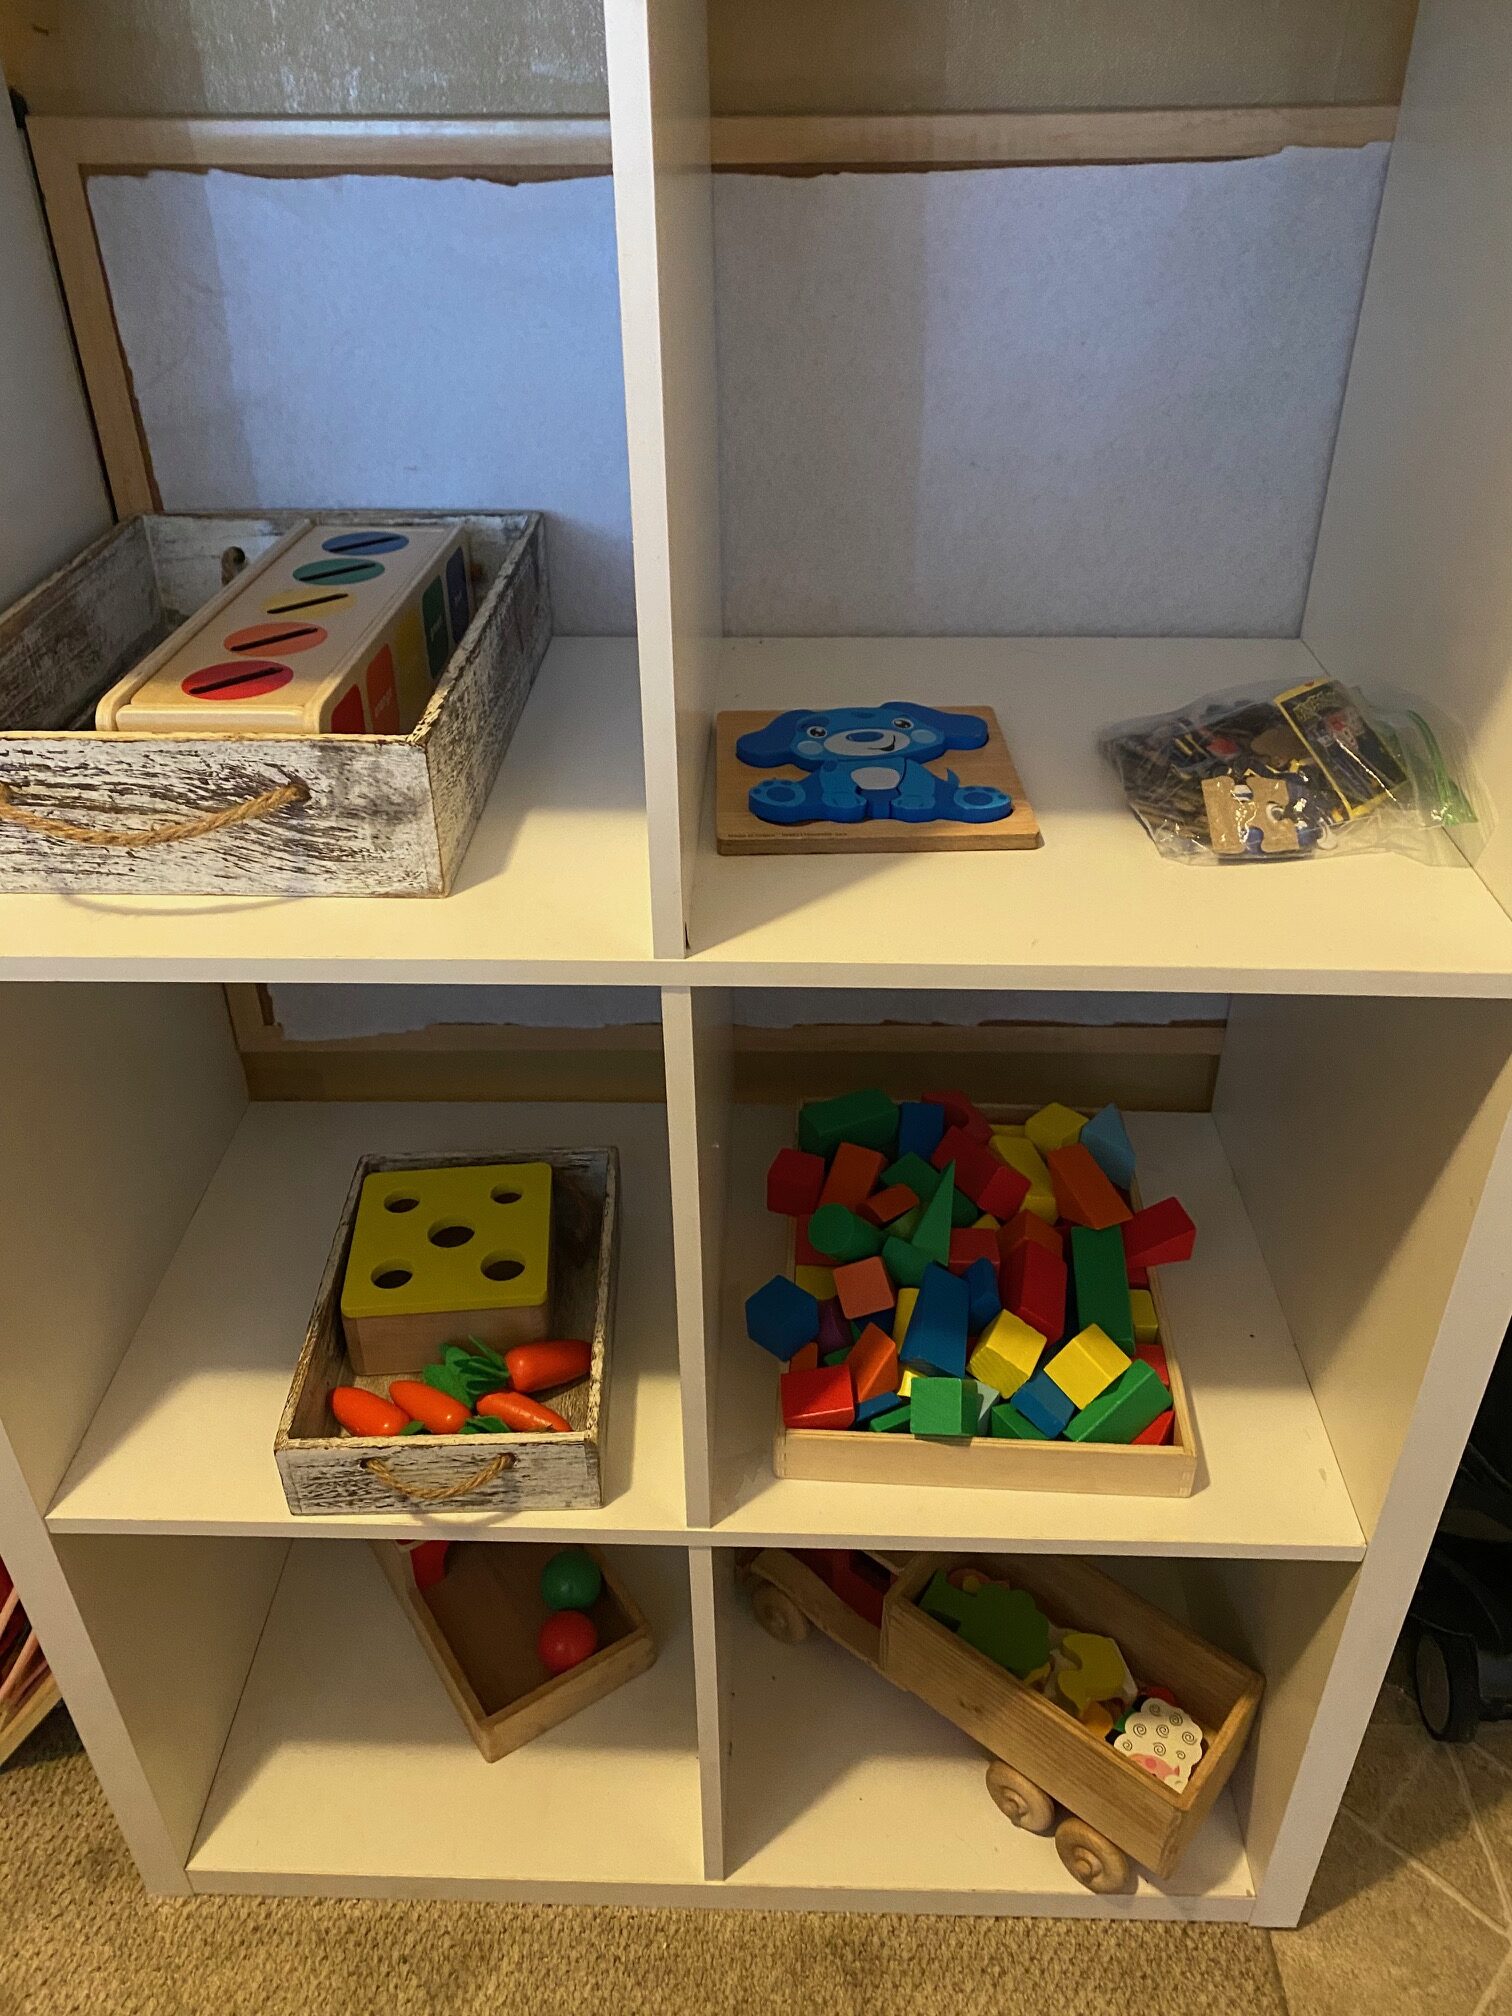
Decide on a space for you to be able to nicely display the toys and encourage play. I use an 8-section cube shelf (the top two are used for storage) and that works quite well. You need to assess your space first so you can decide how many toys to have out at once.
After you have decided on a space, sort through toys. Put things in piles of keep, maybe keep, donate, and discard. Throw away your discard pile. Then either take your donate pile to the donation center or put it in a box and get it out of your way. Put your “maybe” pile in a box but keep it close.
At this point you should be left with just the toys you would like to keep and add to your toy rotation. Take a full inventory of all these toys to help with the next step. I like to do things like this on paper, but you can also use a digital device or photos to do this inventory. Anything that will help you organize!
4. Organize Your List
Decide how many times you want to rotate the toys, and how many toys you want in each rotation. For me, I wanted to rotate them once per week and since I was using six cubes, I decided on six toys for each rotation. 6×4=24 so I would need 24 toys to fill up the toy rotation for our household.
**Side note – I also have a few extra toys that just always stay out. So that is just something to think about as you’re organizing. We have a kitchen, grocery store, cart, and fake food that all stay out. We also have a bin of cars and a bin of tools that always stay out because my boys play with those every day.
Now you can start organizing the toys you chose into cube 1, 2, 3… You will want to put similar toys into the same cube so they don’t come out at the same time as each other. For example, we have wooden building blocks and also the big plastic Lego blocks. Those don’t need to be out at the same time so those are in the same cube so they are out on different weeks.
I have a note in my phone labeled “toy rotation”. I have it broken up into cubes, weeks, and toys as shown here.

5. Organize Your Space
Clear out your play space completely leaving only the shelving you decide to use. Once the space is all cleaned out and ready to go, place the week 1 toys on the shelf. After that is all set up, find a place within the space to put the things that are going to stay out and won’t be rotated.


6. Find Storage for Remaining Toys
This is where a lot of people give up on toy rotation. They either just can’t find a space to put the toys, or put their storage space too far from the play area. Admittedly it makes the space look a little more cluttered, but I put mine in bins above the toys for the week. I have bins labeled for each week and then the oversized items get placed anywhere they will fit. My advice is going with convenience, not visual appeal. I have been doing this for over two years now without feeling like it is more work than it is worth.


7. Trade Things Out
Now that you have the perfect amount of toys for your house, what do you do during birthdays, Christmas, ect? Trade them out! For me, that means examining what we have and determining what my boys play with the least. These things will go into my Goodwill box (check out my post on decluttering tips for more info on this!) and get traded out with the new things.
You could also keep totes for things that are not in the toy rotation if you are not quite ready to part with them yet. These can go in the attic, basement, or shed since you won’t be needing the toys regularly. If you find the tote a ways down the road and had forgotten all about it, the toys can probably go to Goodwill at this point!
Get To It!
As I mentioned in my post on Clutter Control, a toy rotation is going to save you tons of time and headaches in the long run! If you have any more questions, ideas, or your own post about toy rotations, please feel free to post them below!
Author
teetertotmomma@gmail.com